How to Use the x264vfw External Codec
oCam supports external codecs (VFW), and here we will look at how to use the x264 codec.
You can download the x264 codec from the site below.
https://sourceforge.net/projects/x264vfw/
Go to the site and click the Download button.
The download will start automatically.
On the installation screens, just keep clicking Next.
Accept the license agreement.
Specify the installation path.
The installation is complete.
Click Finish.
After installing the codec, you must restart oCam before it will appear in the external codec list.
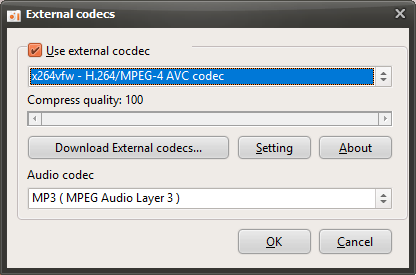
After restarting oCam, click the Codec button in the oCam main window, then click the External Codec menu.
Select the Use External Codec checkbox.
From the list, select x264vfw - H264/MPEG-4 AVC codec.
Then click the Settings button to view the detailed codec settings.
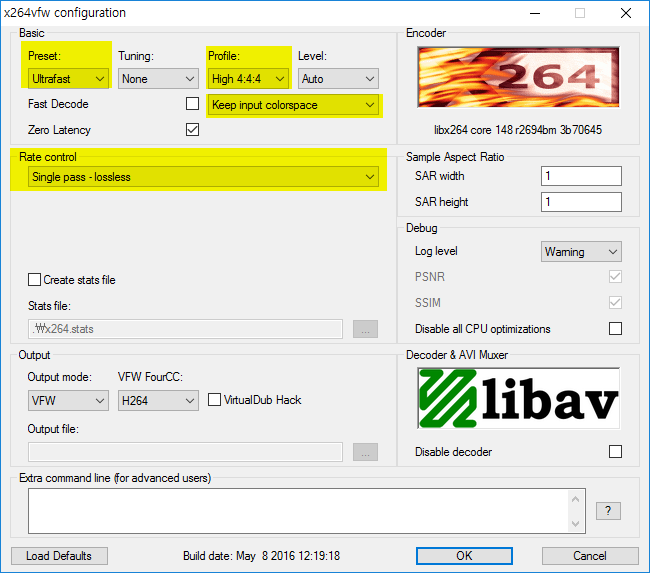
The codec settings window will appear as shown below. Since we need to record the screen in real time rather than perform normal video encoding, select Ultrafast in Preset and check the Zero Latency checkbox so that encoding is performed as quickly as possible, then click the OK button.
( This setting method is useful for real-time recording, and you can adjust it as needed depending on your situation. )
After configuring it this way, your recording will use the x264 codec.
* For game recording, if the game you want to record is 64-bit, you must also install the 64-bit version when installing x264vfw ( by default, it is installed automatically unless you change the installation options ). Then run x264vfw - Configure x264vfw64 from the Start menu and configure it the same way as described above.
* The x264vfw settings Keep/Accept only YUV 4:2:0, Keep/Accept only YUV 4:2:2, and Keep/Accept only YUV 4:4:4 are not supported, and recording will fail if you use those settings.
Today's News/Tips
How to Record Your Screen with oCam
First, use the mouse to adjust the green recording frame and set the recording area.
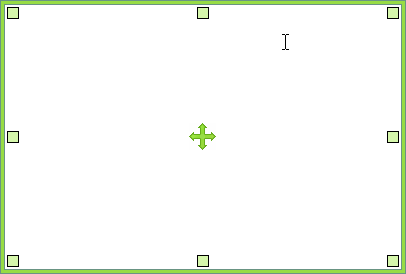
The center drag handle lets you move the recording area with the mouse,

The small squares at each corner can be dragged with the mouse to resize the recording area.

The large rectangular box is the area that will be recorded on the screen.
Once the recording area is set, click the Record button on the oCam main window or press the default hotkey ( F2 ) to start recording. ( The hotkey can be changed in Options. )
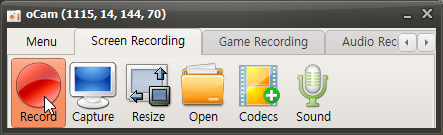
When recording starts, the oCam main window changes as shown below.
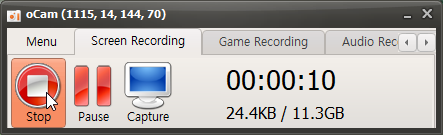
The Stop button stops recording, Pause pauses the recording, and Capture lets you take a capture even while recording is in progress.
It also shows the remaining time, the size of the file currently being recorded, and the remaining space on the hard disk.
The recording frame also turns red, and when the frame is red, it means recording is in progress.

When you click Stop Recording, the recording ends. To check the recorded video, click the Open button.
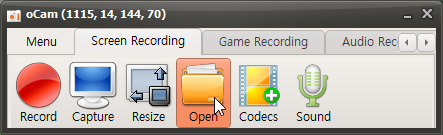
Clicking the Open button opens Windows Explorer and selects the recorded file.
The recorded video can be played in a video player,
and it can also be uploaded to sites like YouTube.