How to Record Your Screen with oCam
First, use the mouse to adjust the green recording frame and set the recording area.
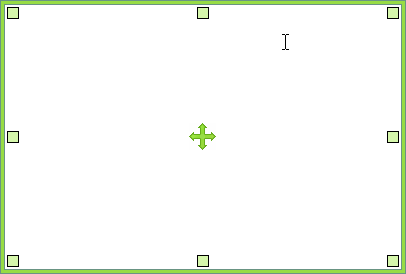
The center drag handle lets you move the recording area with the mouse,

The small squares at each corner can be dragged with the mouse to resize the recording area.

The large rectangular box is the area that will be recorded on the screen.
Once the recording area is set, click the Record button on the oCam main window or press the default hotkey ( F2 ) to start recording. ( The hotkey can be changed in Options. )
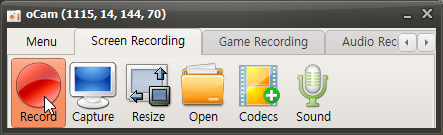
When recording starts, the oCam main window changes as shown below.
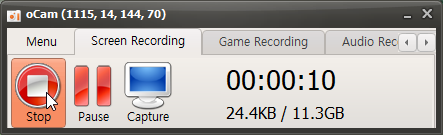
The Stop button stops recording, Pause pauses the recording, and Capture lets you take a capture even while recording is in progress.
It also shows the remaining time, the size of the file currently being recorded, and the remaining space on the hard disk.
The recording frame also turns red, and when the frame is red, it means recording is in progress.

When you click Stop Recording, the recording ends. To check the recorded video, click the Open button.
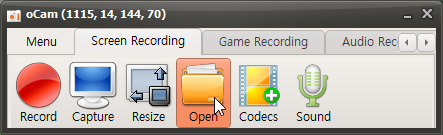
Clicking the Open button opens Windows Explorer and selects the recorded file.
The recorded video can be played in a video player,
and it can also be uploaded to sites like YouTube.
Today's News/Tips
What is the oCam portable version, and is it okay to install it?
Therefore, using such a portable version is absolutely not recommended.
Our investigation confirmed that these files are illegal modified versions made by Russian crackers.
For example, there is a high possibility that it contains threats such as ransomware, malware, or viruses.
Installing these files can lead to serious issues such as personal information leakage or system damage, so do not install them under any circumstances.
It is recommended to use only the official versions distributed through trusted major portal sites.
Files downloaded from non-official sources can cause security threats, so always be cautious.
For safe use, the smartest choice is to download the legitimate version and immediately delete any suspicious files.