Differences in the Paid Version of oCam and How to Register the Serial Number
This software is free for non-commercial personal use, so businesses and users using it for commercial purposes must purchase a license.
If you use it in a company, organization, public institution, educational institution, or PC cafe, please purchase a license before use.
There is no difference in functionality between the free and paid versions. All ads shown in the free version are removed in the paid version.
Of course, non-commercial individual users may also purchase it if they want to remove the ads.
After purchase, the serial number will be sent to you by email, and you can use the software after registering it as shown below.
[How to Apply the Serial Number]
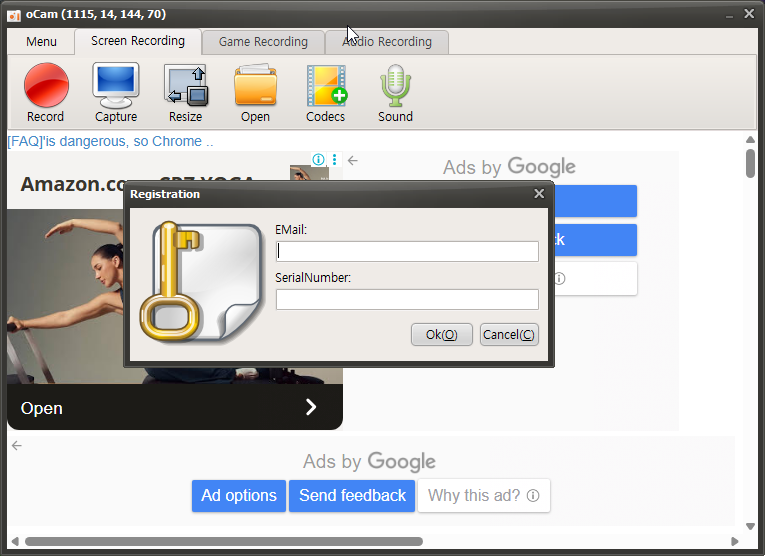
As shown above, click the menu and select Register, then enter your email address and serial number and click OK. Authentication will proceed as shown below.
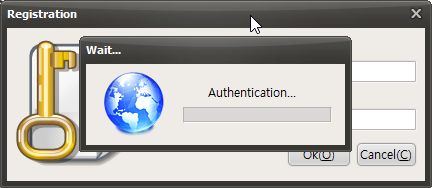
After a short wait, the registration will be completed successfully.
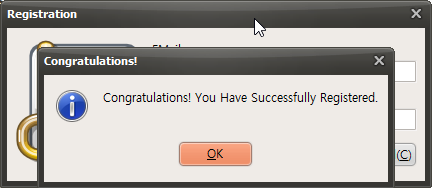
[Registered oCam Licensed Version]
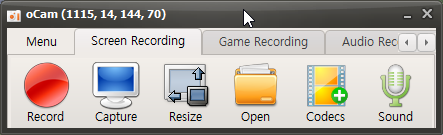
This is the registered screen with the ads removed.
For reference, the ads that opened when exiting the free version are also removed in the paid version.
Today's News/Tips
Can I record only the computer's system audio and save it as an MP3?
oCam now supports audio recording as well as video recording.
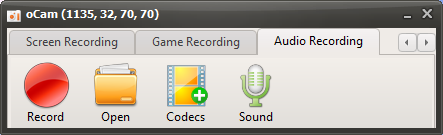
Click the Audio Recording tab on the oCam main screen to open a user-friendly and simple menu. This menu is designed to provide various recording options so users can adjust the settings as needed. One of oCam's strengths is its intuitive interface, which makes it easy to use for everyone from beginners to IT professionals.
Depending on your needs, you can use this feature to record only audio, such as for audio content creation, podcast recording, or capturing background music.
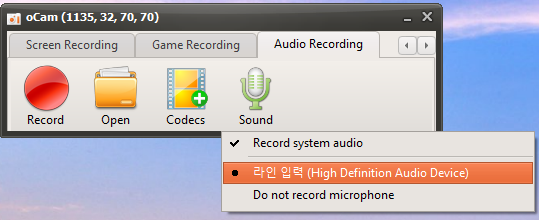
Click the Sound button to select the audio source, such as system audio or microphone input settings, then click the Record button on the screen to start recording. This feature is very useful for tasks that require audio-only recording. For example, it is efficient when you want to extract lecture audio separately, record an interview, or make a simple voice recording. Thanks to oCam's simple controls, these setting changes can be completed in just a few clicks, maximizing user convenience.
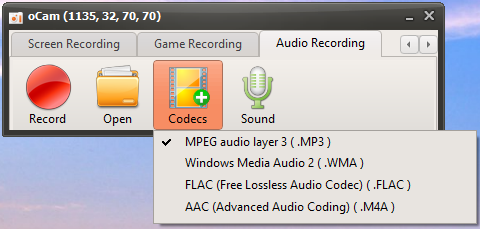
By default, audio files are saved in MP3 format. MP3 is one of the most widely used formats for audio recording because it offers small file sizes and excellent compatibility with most devices and software. This format provides a good balance between audio quality and file size, making it suitable for general use. However, for users with more specific requirements, oCam also provides an option to choose audio codecs other than MP3 through the Codec button. If you select AAC format, you can maintain high audio quality with efficient compression, making it a flexible choice depending on the project.
This setup process clearly shows how simple yet powerful oCam is. oCam is more than just a screen recording tool; it is versatile software that also supports professional audio recording tasks. Users can further adjust details such as the file save path, audio quality, and input sources in the settings menu. For example, you can adjust the volume levels of the microphone and system audio separately, or set a save folder to optimize your workflow. Thanks to this flexibility and convenience, oCam is used in a wide range of environments, from personal use to professional IT work. If you want high-quality audio recording, it is recommended to adjust the codec and detailed settings to suit your environment and achieve the best results.